October 18, 2012
I am occasionally hired by local interior designer and furniture refinishing guru Furniture Doctor to replicate hand-painting on pieces of antique furnishings. For over two decades, I have been hired by Furniture Doctor to hand-paint a myriad of items such as lampshades, chairs, trunks, tables, mirrors and dressers for their clients. In some cases, in order to be refinished, the furniture piece needs to be stripped, which could mean the decorative painting on the piece is removed in the process. Sometimes, I am hired to re-paint a decorative finish onto the piece. Other times, pieces come into their shop broken and the client has asked for it to be repaired or replicated. I always love to take on this kind of work because it usually involves some “forensic detective work” to piece together the original antique design. Usually, it also involves artificially aging the piece.
The latest project was to reproduce an antique clock face.
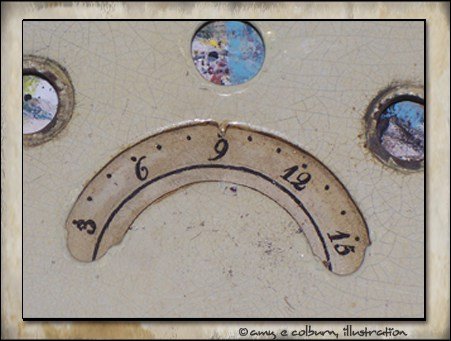
In this case, Furniture Doctor’s client was having a grandfather clock refurbished. The face of the original clock is made from metal and hand-numbered and hand-painted (and naturally aged, of course!). I am guessing it to be about 200 years old…?

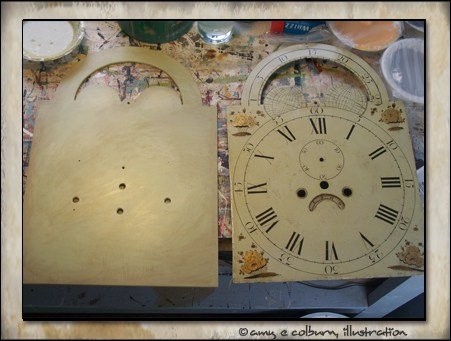
The original face cannot be used in the refurbished clock, so a new one had to be created and made to look as old as the original. The reason a new one had to be created is that the holes for the new clock mechanism (in other words, the clock hands) are in a different place than the old clock mechanism. Also, the new clock face was an ever-so-slightly different dimension than the old one.

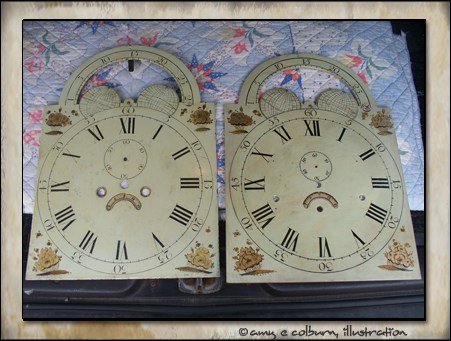
I was given a piece of hardwood plywood cut in the shape of the new clock face, with the new holes pre-drilled. I used the old clock face as reference, and reproduced almost the exact same design. I say “almost” because the new face is a slightly different size and proportion. So, whereas this looks like a simple case of tracing the old design, transferring it onto the wood, and painting it, it was not that easy. Much of the design had to be re-drawn to fit the new dimensions.


I believe the old moon dial is being re-used and added to the top behind what I’ve painted on the new board. Another difference between the two faces is that the second hand center hole is in a different place, causing the need for the diameter of the second-hand markings to be smaller on mine.

Overall, I am pleased. This was really challenging – artistically speaking – but, SO much fun! I am hoping to share with you a photo of the finished clock at some point.
